I spent an AMAZING day with my talented friend Ashley (
FeathersUNLEASHED). We both worked through a Art Journal Class that fellow blogger and artist,
Alisa Burke, had on sale. Her work is wonderful and her courses are FULL of fun, informative techniques for artists of all ages. We used the supplies that I already had available in my Art Room, but I think we did pretty well.
Ashley had never experienced mixed-media painting in the
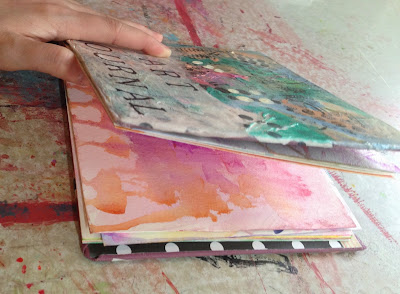
Kelly Rae Robert's style that I have become accustomed to, so we made our covers first using that method. We used acrylic paint to get our surface covered. We went through different techniques such as adding texture with scrapbook paper, stamping, brayer, dripping paint, bubble wrap, etc. Here's mine...
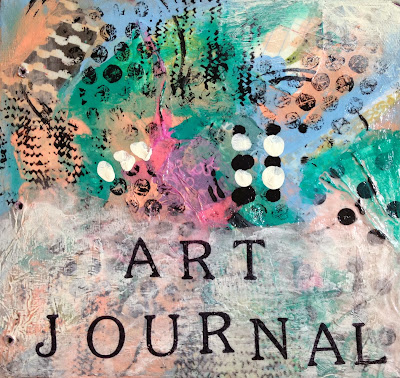 |
| My front cover |
I chose an old childrens book with a square cover, so I cut my watercolor paper to fit nicely inside. Since blank paper can be the scariest part we used different supplies to decorate our pages. This is where the class came in, because this is a new way of creating a surface for me. I used watercolor to fill my 13 front and back pages.
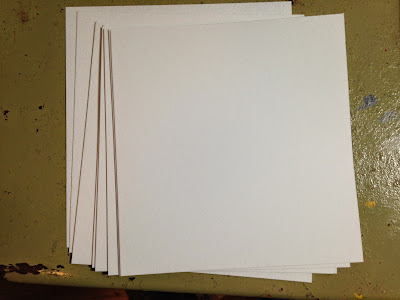 |
| Blank paper is the most frightening aspect |
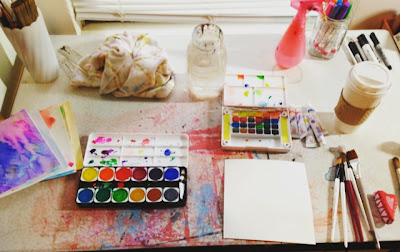 |
| My set-up for the day |
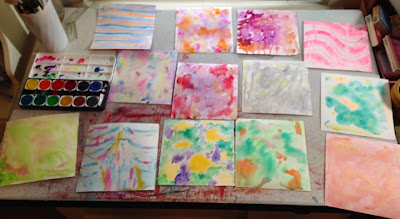 |
| One side of my papers |
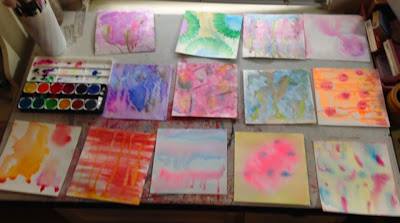 |
| 2nd side of my papers |
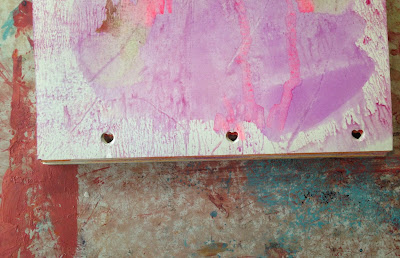 |
| I only had a heart-shaped hole puncher |
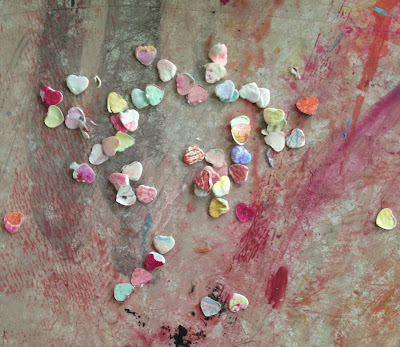 |
| Cute, tiny hearts |
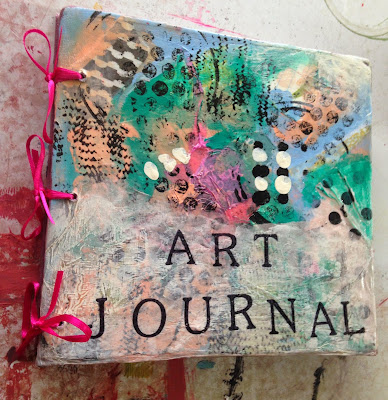 |
| Bound with bright pink ribbon |
 |
| All Done! |
I didn't start the lessons immediately, but I did watch some and got started on my "Mark Making" page. I took out all of the pens and markers that I love using to add details to my drawings and paintings and went to town. I used gel pens, sharpie markers, and micron pens for the most part. It felt really good to just draw and add color/detail without worrying about the outcome. Sort of an experimentation of how different supplies work on the watercolor surface.
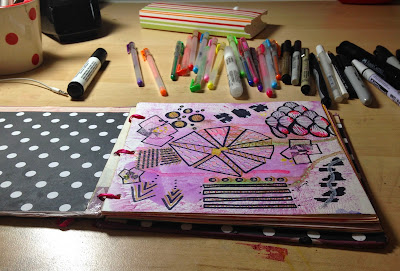 |
| Lesson 1- Mark Making Page |
Days later I was able to watch more of the lessons and jump into some more work. My son told me that I could work at his table in the living room, since he wanted me to watch Despicable Me 2 with him. So, I cleared a spot for myself and decided to go with a song lyric that has been weighing on my mind a lot lately, "Living on such sweet nothing". I painted the letters on with bluish-black watercolor and then painted the word "love" on the 3rd page of my ART Journal. This time I let the letters drip more and pool at the bottom of the page a bit.
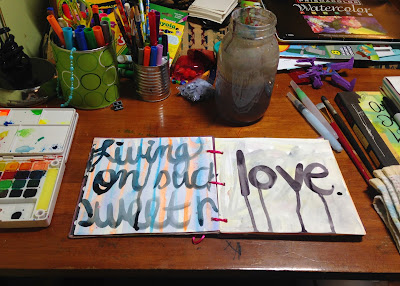 |
| Lesson 2 - Bold lettering |
After allowing these to dry I began adding small details with a sharpie marker and added in small red hearts around the page. I splattered more watercolor onto the page and let that dry before adding my final words.
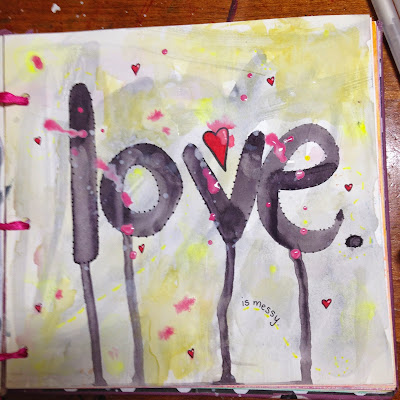 |
| Sharpie detail & paint splatters |
My final design was created after watching the 3rd lesson and debating whether or not I actually wanted to add photos to my journal. This photo popped into my head, because I knew that I already had a print of it lying around and it is one of my absolute favorites of my son. Not to mention the fact that it goes along with my bold lettering in the background. I added the photo using different colors of washi tape around the edges. Then, I finished it off by adding a thin sharpie outline around the figure, sharpie dots around the photo, and the words along the top.
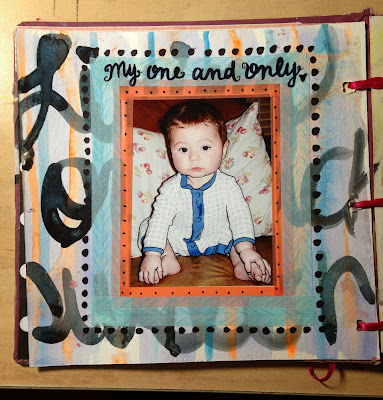 |
| Lesson 3 - Layers with washi tape and photos |
I have since finished all the videos in the class, but have not had the time or energy to add to my ART Journal. I am really hoping that tomorrow I will be able to open it up and be inspired!
Ashley's Art Journal Post looks more into some of the different techniques and supplies that we used and you should definitely check it out!


